Oct 23, 2026Sourcing Guides
Outdoor Gear Sourcing from China: What Fails First in Five Categories
A chair, a gear bag, a tent, a stove, a cooler: five products, five ways to break. Where each one fails first, the sample points that show it, and the questions a factory should answer in writing.
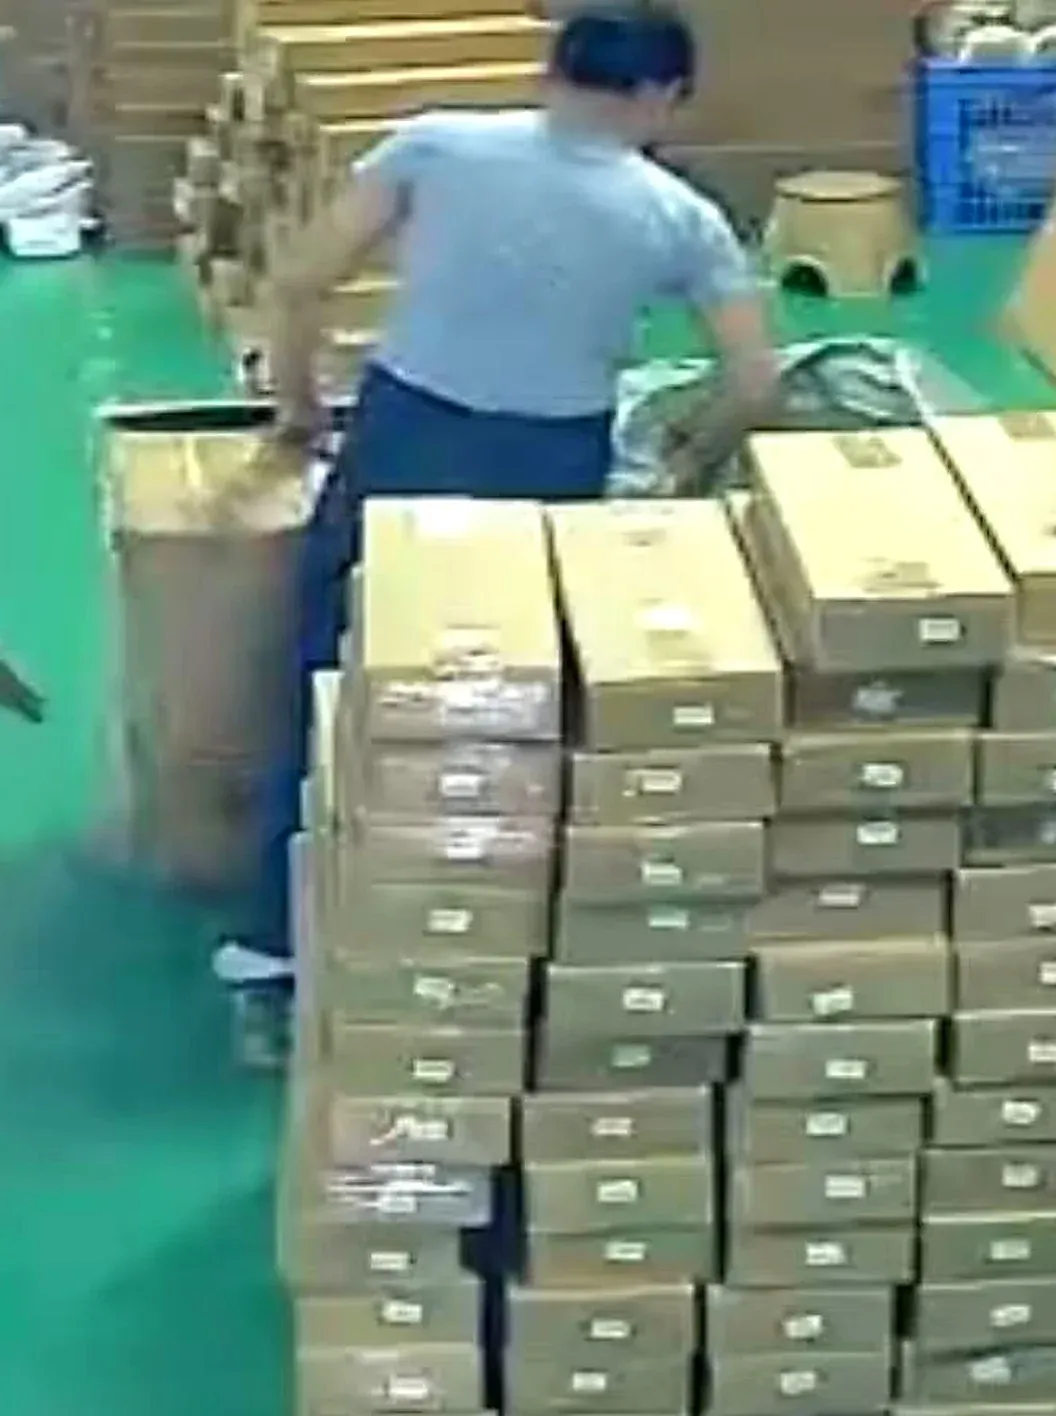
A folding chair, a gear bag, a tent, a stove and a cooler look equally finished in a Chinese supplier's photo. The photo shows no leg weld, no bartack at the handle, no pole joint under load, no rivet inside a pan, and no gasket line on a lid. Those parts decide what comes back. We work in Shenzhen on sourcing and factory checks, out of a manufacturing background. What follows splits five outdoor categories by the load each one carries, the point that fails first, and what a sample has to show.
Five Categories, Three Loads, One Extra Condition
Every product here carries one of three loads, and most carry two. Structure is the weight a body or a stack puts on a frame, a joint or a base. Weather is what the outside puts on a panel, a seam or a coating, and it shows up over months. Transport is what a folded, nested or stacked product does to itself between the factory and the shelf.
The five categories map onto those loads unevenly. A folding chair is structure first and fabric second. A gear bag is a seam and a closure holding weight that swings. A tent or tarp is a panel, a stitched line and a pole working together. Cookware is temperature first, then thin metal and a handle attachment. A cooler or soft cold bag is temperature first, then an insulating wall, a lid seal and a latch. Cook gear and cold gear add one more condition: temperature. Same photo style, five different load paths.
The reading order is the same. Ask what the product uses to hold, block or contain. Then ask which connection that job leans on. Then ask what a sample must show before that connection can be trusted. Material talk comes last, because a material matters only where it works.
Folding Furniture: Where the Frame Meets the Fabric
Camping furniture is where a sample misleads most easily, and a useful first read for a line already on sale. A table or chair opens square on a showroom floor. The question is what the hinge does on the day it stops holding square.
Start at the frame. Aluminum and steel behave differently in the same tube, and the wall thickness matters more than the outside diameter. Read the joints before the finish: a welded leg seat, a riveted hinge plate, a bolted cross brace and a molded plastic connector are four different bets. The hinge takes the repeated motion, and the plastic connector takes a side load it was never drawn for.
Then the fabric, where the frame meets its load. Woven cloth under tension is only as good as its attachment: a sleeve, a screwed strip, or a cord through a hem. Seat and back seams take the body, and the corners take the most. That is where a bartack either exists or does not.
Cycle the piece from closed to fully open, then load it and rock it. Watch the leg seat and hinge, not the fabric. Pull the fabric at each frame attachment. Check the feet for retention, the lock for travel and the coating for rub. Fold it flat and open it again; a binding hinge shows on the second cycle.
Then send the questions: which alloy or steel family, how the joints are made, which spare feet and connectors ship, what the fabric is and what sits on its back, and how the factory checks load on a production unit. A vague reply to that question tells you something.
Soft Storage: Zippers, Stitches, and the Points That Tear
Storage bags for camping gear look like the simplest product here, and they are where a short sample check pays back fastest.
Fabric first, as a question rather than a claim. Is it woven or laminated, what sits on the face and what sits on the back, and how stiff does it feel? Smell and color rub have to be judged together, because both reach a customer first. A coating that lifts at a fold will flake later.
The main seam runs where two panels meet under tension, and the binding wraps an edge that gets dragged. A flat seam and an overlocked seam fail differently, and stitch density matters less than where the reinforcement sits. Every handle and webbing strap should carry a bartack at its ends.
A zipper on a loaded bag runs under tension along its whole length, and the corner where it turns is the test. Nylon or metal, one slider or two, a flap behind the teeth: each choice changes where the first gap opens. A slider that loses a tooth and a tape that pulls off the seam end the same way.
A handle sewn to fabric alone puts the whole load into the cloth. A handle stitched into webbing or a base panel puts it into a part built for the job. Follow the pull from the handle to the bottom corner. The base is the last stop: a stiffener, studs, an abrasion patch.
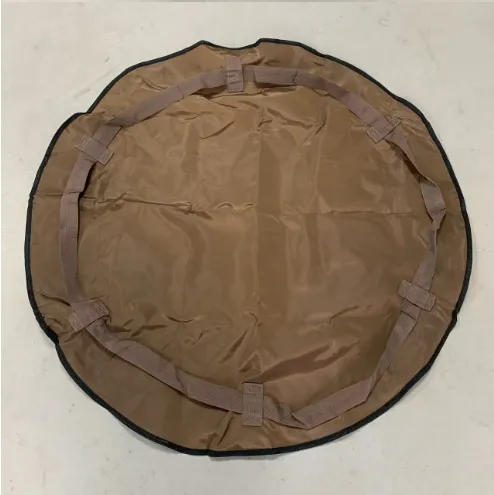
Fill the sample to the volume it is sold to hold, then lift it by the handle and hold it. Pull the seams, run the zipper around the loaded corner, and check the bartacks and the cut edge of every metal part. Ask which seam is specified at the load points, and which zippers and sliders ship as spares. Fold it flat and open it again. We have written about one storage bag before, and that product story is not this guide.
Shelter: The Panel, the Seam, the Pole, the Guy-Out
A tent or a tarp is where a photo is least useful, because what matters is a seam line.
Start with the panel. Polyester and nylon cover most quotes, and weave and coating do more work than the family name. PU and silicone coatings behave differently at a fold and at a repair. Ask what the coating is, where it is applied, and how it stays the same across a run. Sunlight and stretch also have to be judged together.
Seams are where shelter failures begin. Seam type, direction, and whether the line is taped or patched decide how needle holes behave under tension. A tape that lifts at its edge is visible inside a sample before it becomes a complaint. Pole sleeves and guy-out anchors carry a point load, and those are the places to ask about reinforcement by name.
The poles come next. Aluminum and fiberglass bend differently, and the section joint is the part that takes the bend. Look at the joint, the shock cord and the hub. Ask whether the pole runs through a sleeve or clips outside, because the two load the panel differently. Color coding decides whether the poles go in the right sequence.
The rest is small decisions: ground skirt, door zip, vents, guy-out points, peg loops, and tensioning. Pitch it fully, tension it, and read the seams from both sides. Pull each guy-out and open the door through its full travel. Then pack it into its bag, because that is the state it arrives in.
Ask what the panel and coating are, how the seams are treated, which pole sections ship as spares, and how panels are cut and nested. A shelter is a system of tension, and only a pitch shows it.
Cook Gear and Cold Gear: Heat, Metal, and the Seal
Cook gear and cold gear share one problem: both hold something at a temperature, and both fail where a handle or a seal meets a body.
Cookware first. Aluminum and stainless steel are the two families, and sheet thickness changes how a pan behaves. The handle attachment is the joint to read hardest: a rivet through the wall, a welded bracket, or a bracket folded over the rim. Look inside the pan where the rivet passes through, not just the outside. A rivet that loosens shows there first.
The rim and the coating come next. A rolled rim that is even takes a lid; one that is not will not. A coating that lifts at the rim is the defect a customer sees while washing. A burr on a cut edge is the one they feel. A base that is not flat rocks, and a set that does not nest wastes its purpose. On a folding handle, the lock is the sample point.
Cold gear works the other way. Insulation, wall and liner form one system, and the lid gasket is where that system is asked to hold. Press the lid down and read the contact line. Cycle the latches and the hinge. Look at the liner seam and the drain, where a leak starts quietly. Then lift it by its handle with weight inside.
The sample sequence is short. For cookware, put water in it, lift it by the handle, close the lid, feel the rim with a fingertip and nest the pieces. For cold gear, fill it, close it, carry it, cycle the latches, and check the liner seam and the drain. We do not give heating, cooking or food-contact advice, and we do not quote insulation performance. What we ask for is the material declaration, handle construction, coating process and spare parts list.
What the Sample Has to Prove, and What to Ask the Factory
A sample is worth what the factory put into it. If it was built by hand from leftover material, it proves the product can exist, not that the next run will match it. On a custom build, the sample can be the first unit anyone has held. Ask how it was made and where it differs.
Two documents set the reference: the unit you approved, and the order specification. Dimensions, material, color and packing belong in the second. The sealing routine that turns an approved unit into a dispute reference sits outside this guide.
Then the sequence. Open the carton and check what the buyer sees first. Assemble, pitch or fold it the way it will be used. Go over the hardware by hand: welds, rivets, hinge play, latch travel, burrs. Load it, then read the seams again, because a seam closed at rest can open under load. Pack it into the production carton last, then photograph and sign off.
Put the questions to the factory in writing, in seven groups. First, the material declaration: which family, which part, who issued it, and how a later change gets reported. Second, the coating and water resistance statement: what the coating is, where it is applied, and what keeps it consistent between runs. Third, the third-party report: which part it covers, which laboratory issued it, and when.
Fourth, change control: who tells you when a material, a sub-supplier or a process step changes, in what form, and how long before the run. Fifth, the line: which line makes your order, which quality checks run on it, and who signs the record. Sixth, spares by part: feet, connectors, pole sections, gaskets, latches, zippers.
Seventh, packing. Outdoor goods are bulky. A folding table ships with its frame at the carton corners, and a tent ships with poles that bend at a joint. So ask whether the product is broken down or nested, how the frame and pole sections are protected, and what the carton marks say about orientation. Our standard consolidation stops at five categories, and the counting rule has its own article (/knowledge-hub/five-product-category-standard-program). What happens to the cartons after they leave the factory is a separate subject, with its own record.
We ask suppliers for material declarations, coating and water resistance statements, and independent lab reports. Your own market's requirements are yours to confirm. We do not rule on where a product can be used, what season it suits, or whether it is safe there. Our supplier verification and the pre-shipment gate are handled on the sourcing side (/b2b-sourcing).
Bring the Outdoor Line You Already Sell
Name the outdoor categories you sell and the defects that return (/contact-us). From that we build a category review: what to check in each one, which sample points to sign off, the questions each factory has to answer in writing, and a consolidation quote for the categories you plan to put on one load. The B2B threshold is USD 10,000 a year. Dore Technology Co., Ltd. signs the order.